Dear PHO121 students:
Welcome to Week 2! It is time to start getting into the basic instruction of photography.
As I told you in class last week, you'll get instruction from several different sources: me during class, your textbook, Owens-produced Powerpoints, and from outside sources, like the video I embedded in this blog post.
I surfed the Web looking for alternative tutorials, and these videos from Allversity.org were pretty good! I will post Shane's videos sporadically throughout the course, depending on our topics. These videos are simply another way to learn about the basics of photography.
This first video explores stops, which is how photographers measure light with a camera to make properly exposed images. I will also talk about stops in class, of course.
Monday, January 20, 2014
Thursday, January 16, 2014
Q&A #2: Jeremy Wadsworth explains his shot of 'the shot'
| Jeremy Wadsworth's published photo of Toledo's Julius Brown hitting his mark. (Screen grab) |
On the front page of today's Toledo Blade newspaper sports section is a dominate photo that tells half a story. The photo shows University of Toledo's basketball player Julius Brown taking aim while being defended by a large hand. The headline tells the rest of the story. He sunk the 'game-winner at the buzzer' as the seconds ticked down to nothing.
I tell my photography students that professional, experienced photographers make these kinds of action shots look easy. After all, it's just a photo of a player shooting a basketball, right? But they should know there is so much more to sports photography than aiming and shooting.
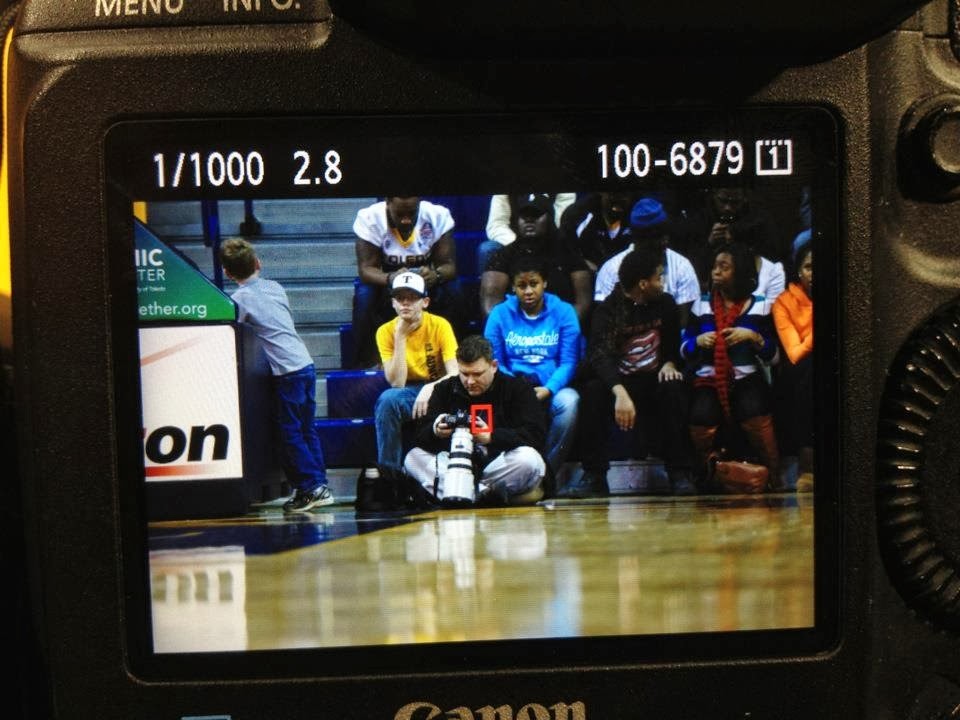
Sports shooters have to worry about many things: where to shoot from, what to set our camera controls on, and capturing the key moments of the game. The latter can be very important, and sometimes the most difficult. A number of things can prevent a photographer from getting that key shot, like being in the wrong spot, or refs and other players getting in the way, which is a hazard that sometimes can't be prevented. In this respect, a little luck doesn't hurt.
When I saw his photo this morning, I instinctively knew I wanted to share some background information about it with my students. So I did a Q&A with Jeremy Wadsworth, the photographer of the awesome Julius Brown jumper.
 |
| Jeremy chipping with his 300mm lens. (Courtesy Photo) |
Q: Where were you sitting when you shot the photo of Julius Brown's game-winning, 18-foot jump shot?
A: I was sitting under the basket when I took the picture that ran in the
paper. I normally shoot from that spot during the second half and from
outside the key during the first half. I basically followed the ball
because there were only 2.4 seconds left on the clock. I had a gut
feeling Julius Brown would be the one to take the shot.
Q: What were your camera settings during this game?
A: I was shooting at ISO 4000 at 1/1000 at F4.
A: I was shooting at ISO 4000 at 1/1000 at F4.
Q: What do you think is the most important factor(s) when shooting sports, particularly basketball?
A: I think paying attention to the game and the story line of the game is very important. You want to get good action shots, but you want those shots to be of the high scorers and play makers. For basketball, specifically, knowing the players and knowing who will take the shot in the clutch is key. Being able to anticipate the action is key, too.
Q: What advice can you give photographers who want to improve their sports shooting?
A: Shoot a lot of pictures. Practice. There is no substitute for experience. The more you shoot, the better you will get.
Q: What's your favorite lens for shooting basketball?
A: I have two primary lenses I use for shooting basketball; 70-200 2.8, and the 300 2.8. Of the two, the 70-200 is the workhorse and favorite. Sometimes I use a 50mm underneath the basket.
View Jeremy's photo gallery of this game: UT vs. Buffalo photo gallery
A: I have two primary lenses I use for shooting basketball; 70-200 2.8, and the 300 2.8. Of the two, the 70-200 is the workhorse and favorite. Sometimes I use a 50mm underneath the basket.
View Jeremy's photo gallery of this game: UT vs. Buffalo photo gallery
Subscribe to:
Comments (Atom)